Posts

Stone Swirls

Image
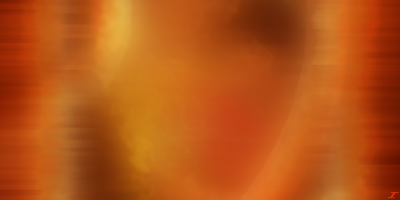
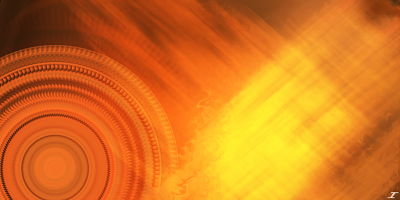
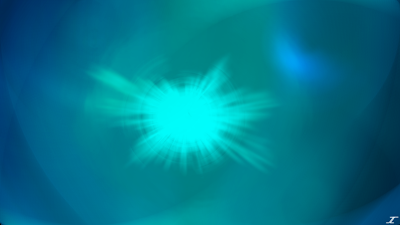
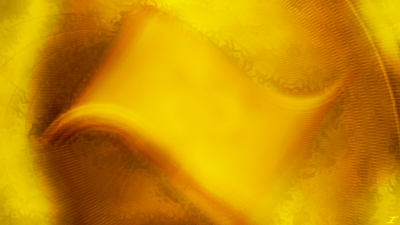
Here is attempt number 2 at making the wall art I was assigned. This time, I may have gotten it, but that remains to be seen with my wife. I wanted to keep the same color palette, but not make the same mistakes I did in the last image, and I feel like I may have done that this time. This image is titled Stone Swirls. I took a slightly different approach than I usually do with my images, where I took some of the nice colors of the color palette I had and put them on the left and right sides in order of darkest to lightest. I then distorted the crap out of them when I merged them down. Lots of Radial Blur, Gaussian Blur, and some Dents for texture. I then did some Glass Vignette, Polar Inversion, Frosted Glass, Crystalize, and Motion Blur. I also used layer blend modes Multiply, Additive, Lighten, Darken, Screen, and Negation. I hope you have enjoyed this so far, and I hope to have more ideas come by different means other than my brain. Have a good rest of your day everyone!

Wild Fire

Image
This image was an attempt at making something else, but it went down the drain quick. My wife wanted to create something with a desert sort of theme to it with some of the nice swirls I have on my works to put over our bed. As I was working on this, I tried to get that incorporated into the piece, but obviously that didn't seem to happen this time. When I saw the end result, I was a bit upset that it didn't turn out, but at least my creative juices are flowing more than before. Here is my first attempt to make this piece titled Wild Fire. Lots of Gaussian Blur, Dents, and Radial Blur in this image. I had a color palette with a lot of desert themed colors, namely some browns, oranges, reds, and some cream colors that made it into the image, but they got overpowered by the orange and red that came from the layer blend modes I used. I also have the Radial Extruder bit added on the left for some additional texture. Layer blend modes I used are Additive, Multiply, Color Dodge and Li...

Ocean's Eye

Image
Ever since getting the iOS app called Frax, things have been getting interesting for me on my end. I looked at a few fractals and thought of how I'd like to manipulate them. I usually try to keep some aspects of the fractal in the image, but this one kind of deviated far from the original fractal created. Part of the background on the right has some aspect of the original, but not much. Here I give you the image I call Ocean's Eye. I created this on a 4K canvas again, due to the strange dimensions I got this created with. I then started with the initial fractal, and distorted it with Dents and Gaussian Blur. I decided at that point to do a Polar Inversion on the far left, so that I can get some closer texture on the far right. At that point I thought it might be easier to do things without the black background on the fractal, so using Magic Select, I selected the black of the initial fractal, adjusted the tolerance of the selection, and then redid the Gaussian Blur and Dents. W...

Layers of the Cosmos

Image
This image was slightly unexpected, possibly due to some of the steps taken to get to the end, and also the different colors that came out. I had a harder time with this fractal manipulation since it was not a transparent PNG like the others I’ve done here. The initial fractal was created using an iOS app called Frax, then I manipulated it in Paint.NET to give you Layers of the Cosmos. Like all of the others, I started with the fractal, but on a 4K canvas since it was a weird set of dimensions. I then made a background using Gaussian Blur and Radial Blur. I then added a splash of blue and purple using the same effects as well as Dents to get some texture in. I then blended them in with Color Burn and Glow, while also leaving some of the layers as Normal. After that, I wasn't satisfied, so I did some overlaying of the initial fractal on top and adding other effects such as Polar Inversion to get some good different textures in there. I then selected some part of the fractal on the r...

Slipstream

Image
It has been a ride to say the least. The last year and a half has definitely been some difficult years, but hopefully things go better. Sometimes we may feel that we need to just fast forward to get through life, but things may just need to slow down for us in life so that we can enjoy the here and now. I'm hoping that this image can kind of capture the need to just pause and reflect on the world, even if we need to get into a slipstream to speed us on by. The middle area kind of reminded me of a slipstream, hence this is called Slipstream. The center was created with a teal color, adjusted with Radial Blur, Dents, and Zoom Blur, and blended with Additive. I then did dark teal, light blue, and light dark blue for the outside using Dents, Gaussian Blur, and Radial Blur, blending them with Additive, Negation, Darken, Glow, and Reflect. I also used Polar Inversion on the middle part, used the Zoom, Tilt, and Pan tool to zoom it out, and again used a mix of effects to blur it out. Hope...

Fractured Portal

Image
This image is made from a fractal that I made a while ago, but I never got around to doing much with it until now. I think I was thinking of using it as a Christmas image, but since I got around to it now, I hope I was able to get rid of most of the Christmas colors from it. I did use some effects that I haven't used in a long time, and others that I have rarely used at all, except maybe my first images since I was experimenting. Anyway, here is Fractured Portal. Some of the first effects I used was Twist, which I haven't used since I started using PDN since it looked tacky. I used it in a good sort of way this time to make it kind of look like a tunnel, then duplicated it and rotated it a bit. I then used Polar Inversion, Tile Reflection, and Radial Blur to add some color and texture to the outside of the "portal" and just to help the image out a bit. I finished with another inverse Polar Inversion to make a sort of circle around the middle, and then used Reflect to ...

Yellow Flag

Image
Creativity kind of left me for this title, but hopefully you think it looks cool. As I was making this image, it kind of looked like the old Windows logo, but a bit longer. I didn't do it on purpose, it just came up when I was doing some Radial Blurs in certain areas, and BAM, there it was. So here I give you Yellow Flag. I didn't know what else to put in the image since it looked good, so I tried to put some stuff in the background such as dents and such, but it just overpowered it. Overall, this didn't take too long to make, but the rest of the background did. For the main flag, I used Radial Blur, Motion Blur, and Polar Inversion. I then used Overlay for one layer, also flipped a layer so the flag looked a bit more uniform. The background I did Dents, and Radial Blur, as well as Polar Inversion and Radial Extruder. I then used Difference and Overlay for the layer blend modes. Hope you enjoyed this and I hope to see you soon with more art.