Posts

Showing posts from 2020

Echos of the Deep

Image
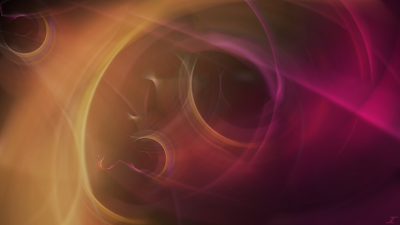
It is now December, and another crazy year has gone by. Not sure what to make of 2020, hard, stressful, and many other things. Hopefully this coming year is better for us in the long run. So I made several fractals a while ago, and decided to recently use one for this image. I realized that I made the fractals tiny (because I still don't know how to use Apophysis 7X), so I had to work with expanding them further. Even then, I mostly kept them small in the image as little swirls, but that makes it a bit more unique to what I've done in the past. So here I give you Echos of the Deep. I first opened the PNG of the fractal and made it about 2.5 times bigger on the top left corner. I then duplicated it, and moved it to two other locations on the canvas, to add more color. I then proceeded to manipulate each layer with Radial Blur. I then merged them all down, duplicated the layer, did Radial Blur a couple of times, as well as Dents and blended the layer with Color Dodge. I then crea...

Eye of the Beholder

Image
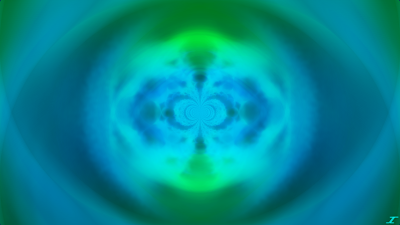
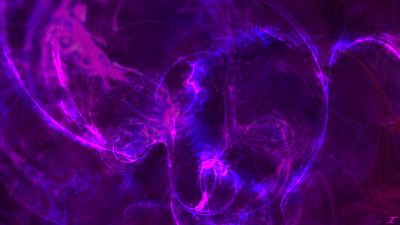
Once again, this is a fractal manipulation that honestly I didn't see as an eye until the last second. I also didn't really know where else to go with this until I saw the eye, then I knew what to do. When I finished it, the title came to my head, and so here I give you Eye of the Beholder. Not much different from the last image, just a bit of Radial Blur for the background, then Polar Inversion for the swirls of the fractal, then I duplicated the Polar Inversion layer, flipped it around, then merged it down. I then duplicated that, then did another Polar Inversion, and blurred the middle with Gaussian Blur where the eye was, added a bit of blue for the iris, and blurred that as well. I then added a glassy look to it and called it good. Layer blend modes used are Overlay, Glow, Lighten, Additive, Color Dodge, Multiply, and Normal in the middle and bottom of the image. Hope you enjoyed, and have a happy Thanksgiving a little later this month.

Ectoplasm

Image
It's Halloween, and I hope everyone is doing well. Since getting Apophysis 7x, I've been doing as much as I can with Fractals. I started with a purple and blue fractal, and heavily manipulated it here again with many different effects. It also took me about three tries to get this looking right since the first two it was much too bright in the center. This third take I changed everything completely and so now I give you Ectoplasm. I did Radial Blur for the subtle background, then some Polar Inversion for the rest of it. I then added Dents, and blurred everything out with Gaussian Blur. The main layer blend modes I used were Screen, Glow, Overlay, and Negation. Hope you enjoyed the bonus image this month, and I'll see you again next month.

Time Fractals

Image
The title of this image should give something away. I used a different method to create this image, starting with a fractal created on Apophysis 7X, much like Heatstroke earlier on this blog. Not really sure how I got it created, since I don't know how to use the program, but I got something that looked cool, so I worked with it. It also had a color combo I never thought of which is a yellowish gold color, and purple. With that, I bring you, Time Fractals As you can see, it was heavily manipulated with Polar Inversion and Radial Blur. I then added some extra gold color on the top left, and some purple color on the bottom right. I blended most of it together with Lighten, but then to make colors brighter and pop, I used Additive, Overlay, and Reflect. I hope you enjoy this post, and I'll see you here soon.

Dedication to Grandpa Oscar

Image
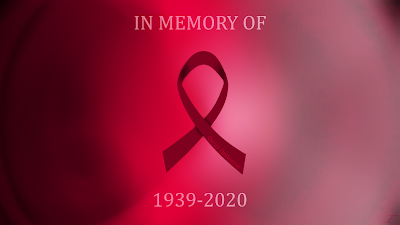
  Life has a way of throwing things in our path that can be hard, and while 2020 may have been extremely hard on all of us, it has been harder still for me. I know many of us loose loved ones, and have lost many to COVID-19, other disease, accidents, or just of old age. Now I have lost my grandpa, who is one of the greatest examples to me of humility and greatness in my life. I have many fond memories spending time with him while he was on his laptop visiting, and of the jokes he made while spending time with everyone. He passed due to Multiple Myeloma, a type of blood cancer that spread rapidly, so in memory of him and for the length of time he fought this cancer, I made this in the color of the cancer, burgundy. I started with the burgundy color in the center, and moved it outward using Gaussian Blur, Dents, and Radial Blur. I then added some burgundy to the left and did some more Gaussian Blur and Dents, then duplicated it and flipped it to the right. Then on the right I added w...

Dying Furnace

Image
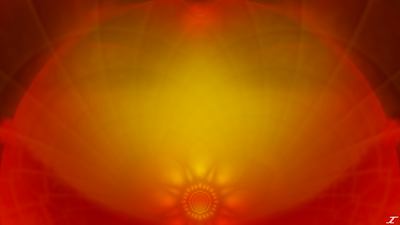
It's starting to become fall weather yet again, and with that comes cooler temperatures. Since summer is my favorite time of year, that makes this time of year a bit sad for me. I love the heat, of course that's what happens when you are from the desert. So since I haven't made an image about summer yet, here's one (sort of) that captures the type of heat that I like. I also decided to make it a bit more subtle since the heat is dying down a bit. So here is Dying Furnace. The main body of the image was made using the Fire rendering, which I haven't used in years, so that's a bit of a trip down memory lane. I then distorted it like crazy, to give you what you see above. The main effects used were Radial Blur, Polar Inversion, Gaussian Blur, Radial Extruder, Tile Reflection, Kaleidoscope and Dents. Then the layer blend modes I used were Overlay, Additive, and Lighten. Overlay I mostly use to make things transparent to merge layers down and make it a bit darke...

New Life

Image
Not sure what you are thinking about with a title like this, but it's not me changing anything up, nor other things like that. I had some help with the title of this one, and the glow of it had my wife thinking about new life due to the glow. I also thought it was interesting since this image is literally a manipulation of Nature's Rage and Molten Echos, so here is New Life. Literally took both images, did Radial Blur on both of them, and set the layer blend mode of Molten Echos to Negation. That's literally it, and it looks completely different from both of the images separately. Needed some time to just sit and not do too much, so two manipulations in two months. Hopefully I have something new up soon for your viewing pleasure. Enjoy!

Nature's Rage

Image
Here I am with another image for you. This is actually a manipulation of Lifeforce, so it's not really new per say, but different enough to be worthy of being on the blog. I also thought it looked more chaotic than Lifeforce, hence the title of this image, Nature's Rage. Kind of a perfect title for this COVID-19 pandemic that has hit us hard. Some Radial Blur as well as Dents and Gaussian Blur are the foundation for the image, and Overlay for the layer blend modes. I'm running low on ideas here, but hopefully I get some ideas here soon for brand new images for you guys. Not too bad for just throwing it together though, right? See you here again soon.

Lifeforce

Image
Spring has come and gone, and summer is starting to take hold of the northern hemisphere. I did skip spring in my images I realize, so to make up for it, I went back and created spring in an image. I pretty much did the exact same thing I did with Mystic Rosettes as I did with this one, which is start with some color in the middle and expand out, but obviously with different colors. I also had a completely different outcome than what I initially thought, but I think it came out great. Here is Lifeforce. I initially just started with the green color, and expanded it out to where it shows on the outside with Dents, Radial Blur, Polar Inversion, and Gaussian Blur. I then did the Color Flip/Rotate effect in the middle green area and changed it to blue. I then expanded that out with Polar Inversion, and Radial Blur. I then did some rotations, and used Overlay, Color Dodge, Darken, Glow, Lighten, Additive, and Screen layer blend modes to blend the colors together and make some pop a bit...

Name Change and New Page

Just a bit of information for you guys, I decided to go ahead and change the name of the blog to match my Facebook and Instagram pages. Blog from now on will be titled Julio PDN Pics. I also replaced the Pictures page with a page that has a link to my new Portfolio. I hope you enjoy that gallery more than the pictures page that used to be here. For one thing, it looks so much better than the old way I had here, so it’s far more aesthetically pleasing. I'll have an image again for you guys soon. Thank you for your patience while I figure things out with the recent trials I've been going through. These times are difficult for sure and I hope everyone is staying safe.

Album Covers

Image
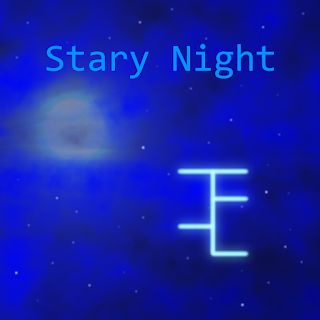
So I recently have started a new project, which is making artwork for an artist on SoundCloud. Their name is Just Computerized, and their SoundCloud music can be found  here . They mainly make electronic music, so that's been fun to be a part of something different. Never thought I'd do something for someone that is starting a music sort of thing. Anyway, here are some of the album artworks I've done. The first one is of a single they created called Stary Night, then the other two are going to be albums that they are making. So far to this date, they have two under Processing... and one under Quarantine, with more to come. I'm more of a rock music listener myself, but their music is definitely catchy, especially their song Processing. Hope you enjoy my album art, and pease check this artist out, they seem to be making pretty good stuff!

Fire's Awakening

Image
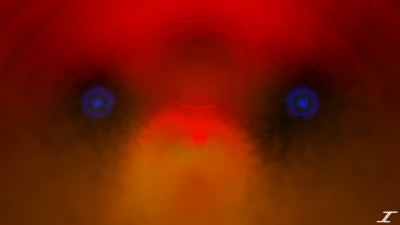
The month of May usually means warmer weather is ahead. That means summer is coming, and to celebrate the entrance of summer, I decided to make a warm colored image. I didn't really know where I was going with this for a while, but then toward the end it became a bit clear. Here is the image that I call Fire's Awakening. I started similarly to Mystic Rosettes, with a bit of orange in the middle, then adding effects after effects to fill the screen. Namely Radial Blur, Gaussian Blur, Dents, Frosted Glass, and Polar Inversion. I then used Reflect, Screen, and Additive layer blend modes to make it brighter. I then added red the same way and did the same thing to make it grow until the red was on top with Polar Inversion. I then duplicated the bottom orange and Darkened it to make everything else pop. I then saw the "eye holes" and decided to add two blue fire eyes. I did it with Frosted Glass, Dents, Radial Blur, and Gaussian Blur. I then duplicated it twice and u...

Dude Perfect Wallpaper

Image
First, may I just say that I hope that everyone is doing well with the COVID-19 pandemic. Please stay safe, and if you feel sick, stay home. Hopefully we can kick this pandemic in the butt before it takes more lives. I've actually had this image done for a while, and my main reason for making it is because they are awesome, and my kids really love their content. This is meant to be a dual monitor image, so I will have a download link toward the end of this post if you wish to use it. I actually had to do some hunting for a PNG transparent image of their logo, and then for the font for the other text. I then had a logo from them that had that green color, which allowed me to get busy. Here is the Dude Perfect dual monitor image. I have it split in two for the purposes of this blog, but it is initially a dual monitor, 4K image. It took a while to get it rendered on my little laptop, but it was well worth it. It was a simple image to make, had some Zoom Blur on the color com...

Molten Echos

Image
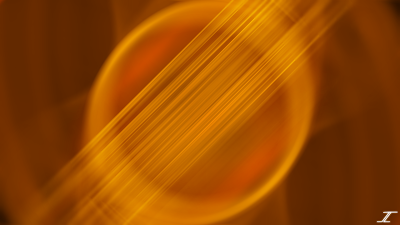
Welcome back to another installment here on Julio PDN Pictures. I'm trying to make more unique images, since it seems that recently I've been discovering new techniques to bring to my images, and now I can kind of merge everything to make somewhat stellar images for you. Below I have one I call Molten Echos. I started out with the lines there in the middle using Motion Blur, then everything evolved out of that. The circles in the middle were done with Polar Inversion, and I deleted everything I didn't want from that effect. I then selected the initial Motion Blur to the diameter of the circle, inverted the selection and did a small Gaussian Blur. I kept moving that selection out ever so slightly, repeating the effect so that it fades out as it goes. Then the orange background was made with Radial Blur, Radial Extruder, and fading it slightly. I then made the circles and lines glow with Additive, Screen, and Color Dodge layer blend modes. Again, I enjoyed making thi...

Mystic Rosettes

Image
As you may have noticed, I've only posted one image in January, and here I am on Valentines Day to give you yet another image. I'm a bit bogged down with work and home life taking a greater toll, so I may not be able to do two images each month like I have been. I'll keep you posted on that. This one I wanted to make it look a bit flowery and to make it pink for Valentines Day. I think I accomplished both feats with this image titled Mystic Rosettes. The center is what I started with, mostly making a flower shape out of scribbles. I then did a Gaussian Blur to blur it out a bit, then did a few radial blurs to spread it out a bit. I then did two Polar Inversions to kind of separate them and give it a few inner "pedals" in the center. I then filled in some black with some rose color, and did some more Radial Blur and created the two bigger "pedals" on the outside. Hopefully the wait wasn't too long and that you were excited to see what I had in...

Desolation

Image
As they always say, new year new me, right? Well in this case it's true. It actually took a couple of days to get this image created, but I think it looks spectacular! Honestly this is one of the most complicated images I've made so far, with over 60 layers and the help of a metal tutorial found here . There was a process to the whole thing though, and it started as a completely different idea. Below is the concept of what I was going to be creating. I had the idea of making a metal circular structure which would be part of a machine, then put some lights on it and make it look old and worn. After having the idea in my head, I quickly drew up the concept art as shown above so that I can have some grounds on what I was going to do. I started working on the metal of the circular structure, which was made with the Clouds, Stitch, Motion Blur, Random Shape Fill, Relief, Color to Alpha, and Basic Adjustments effects. The layer blend modes used are Xor (which I've never use...